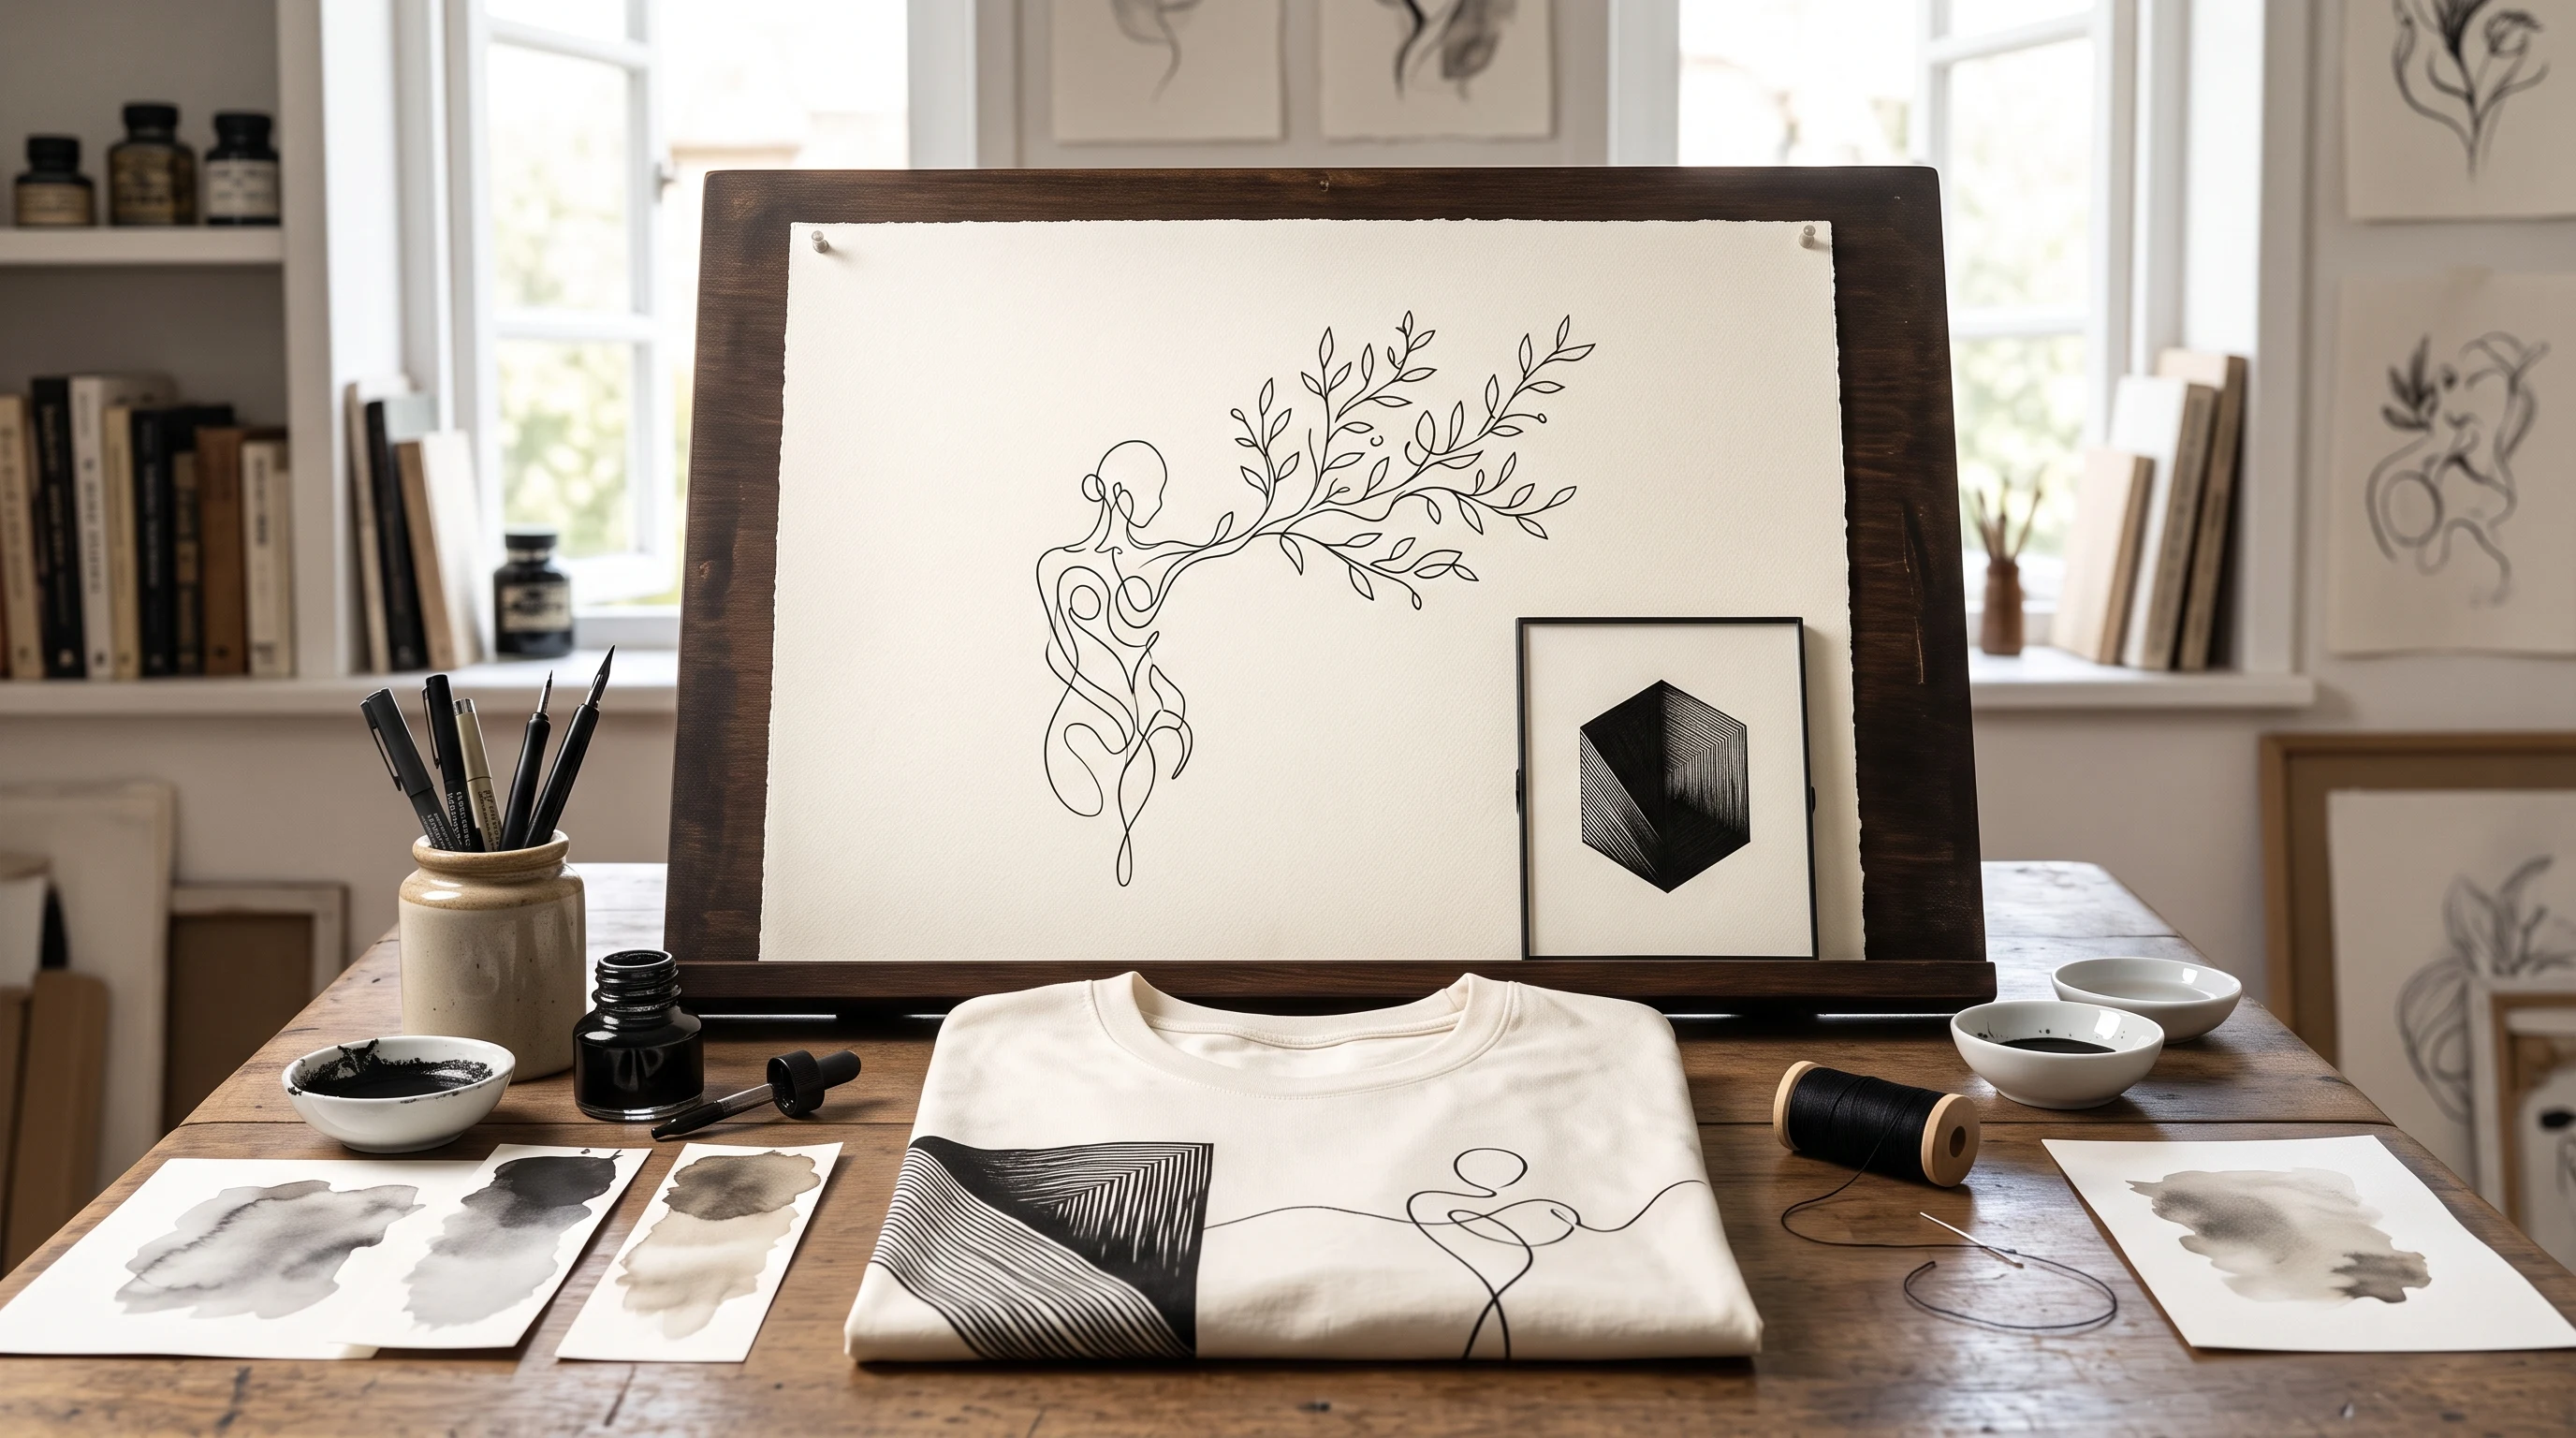
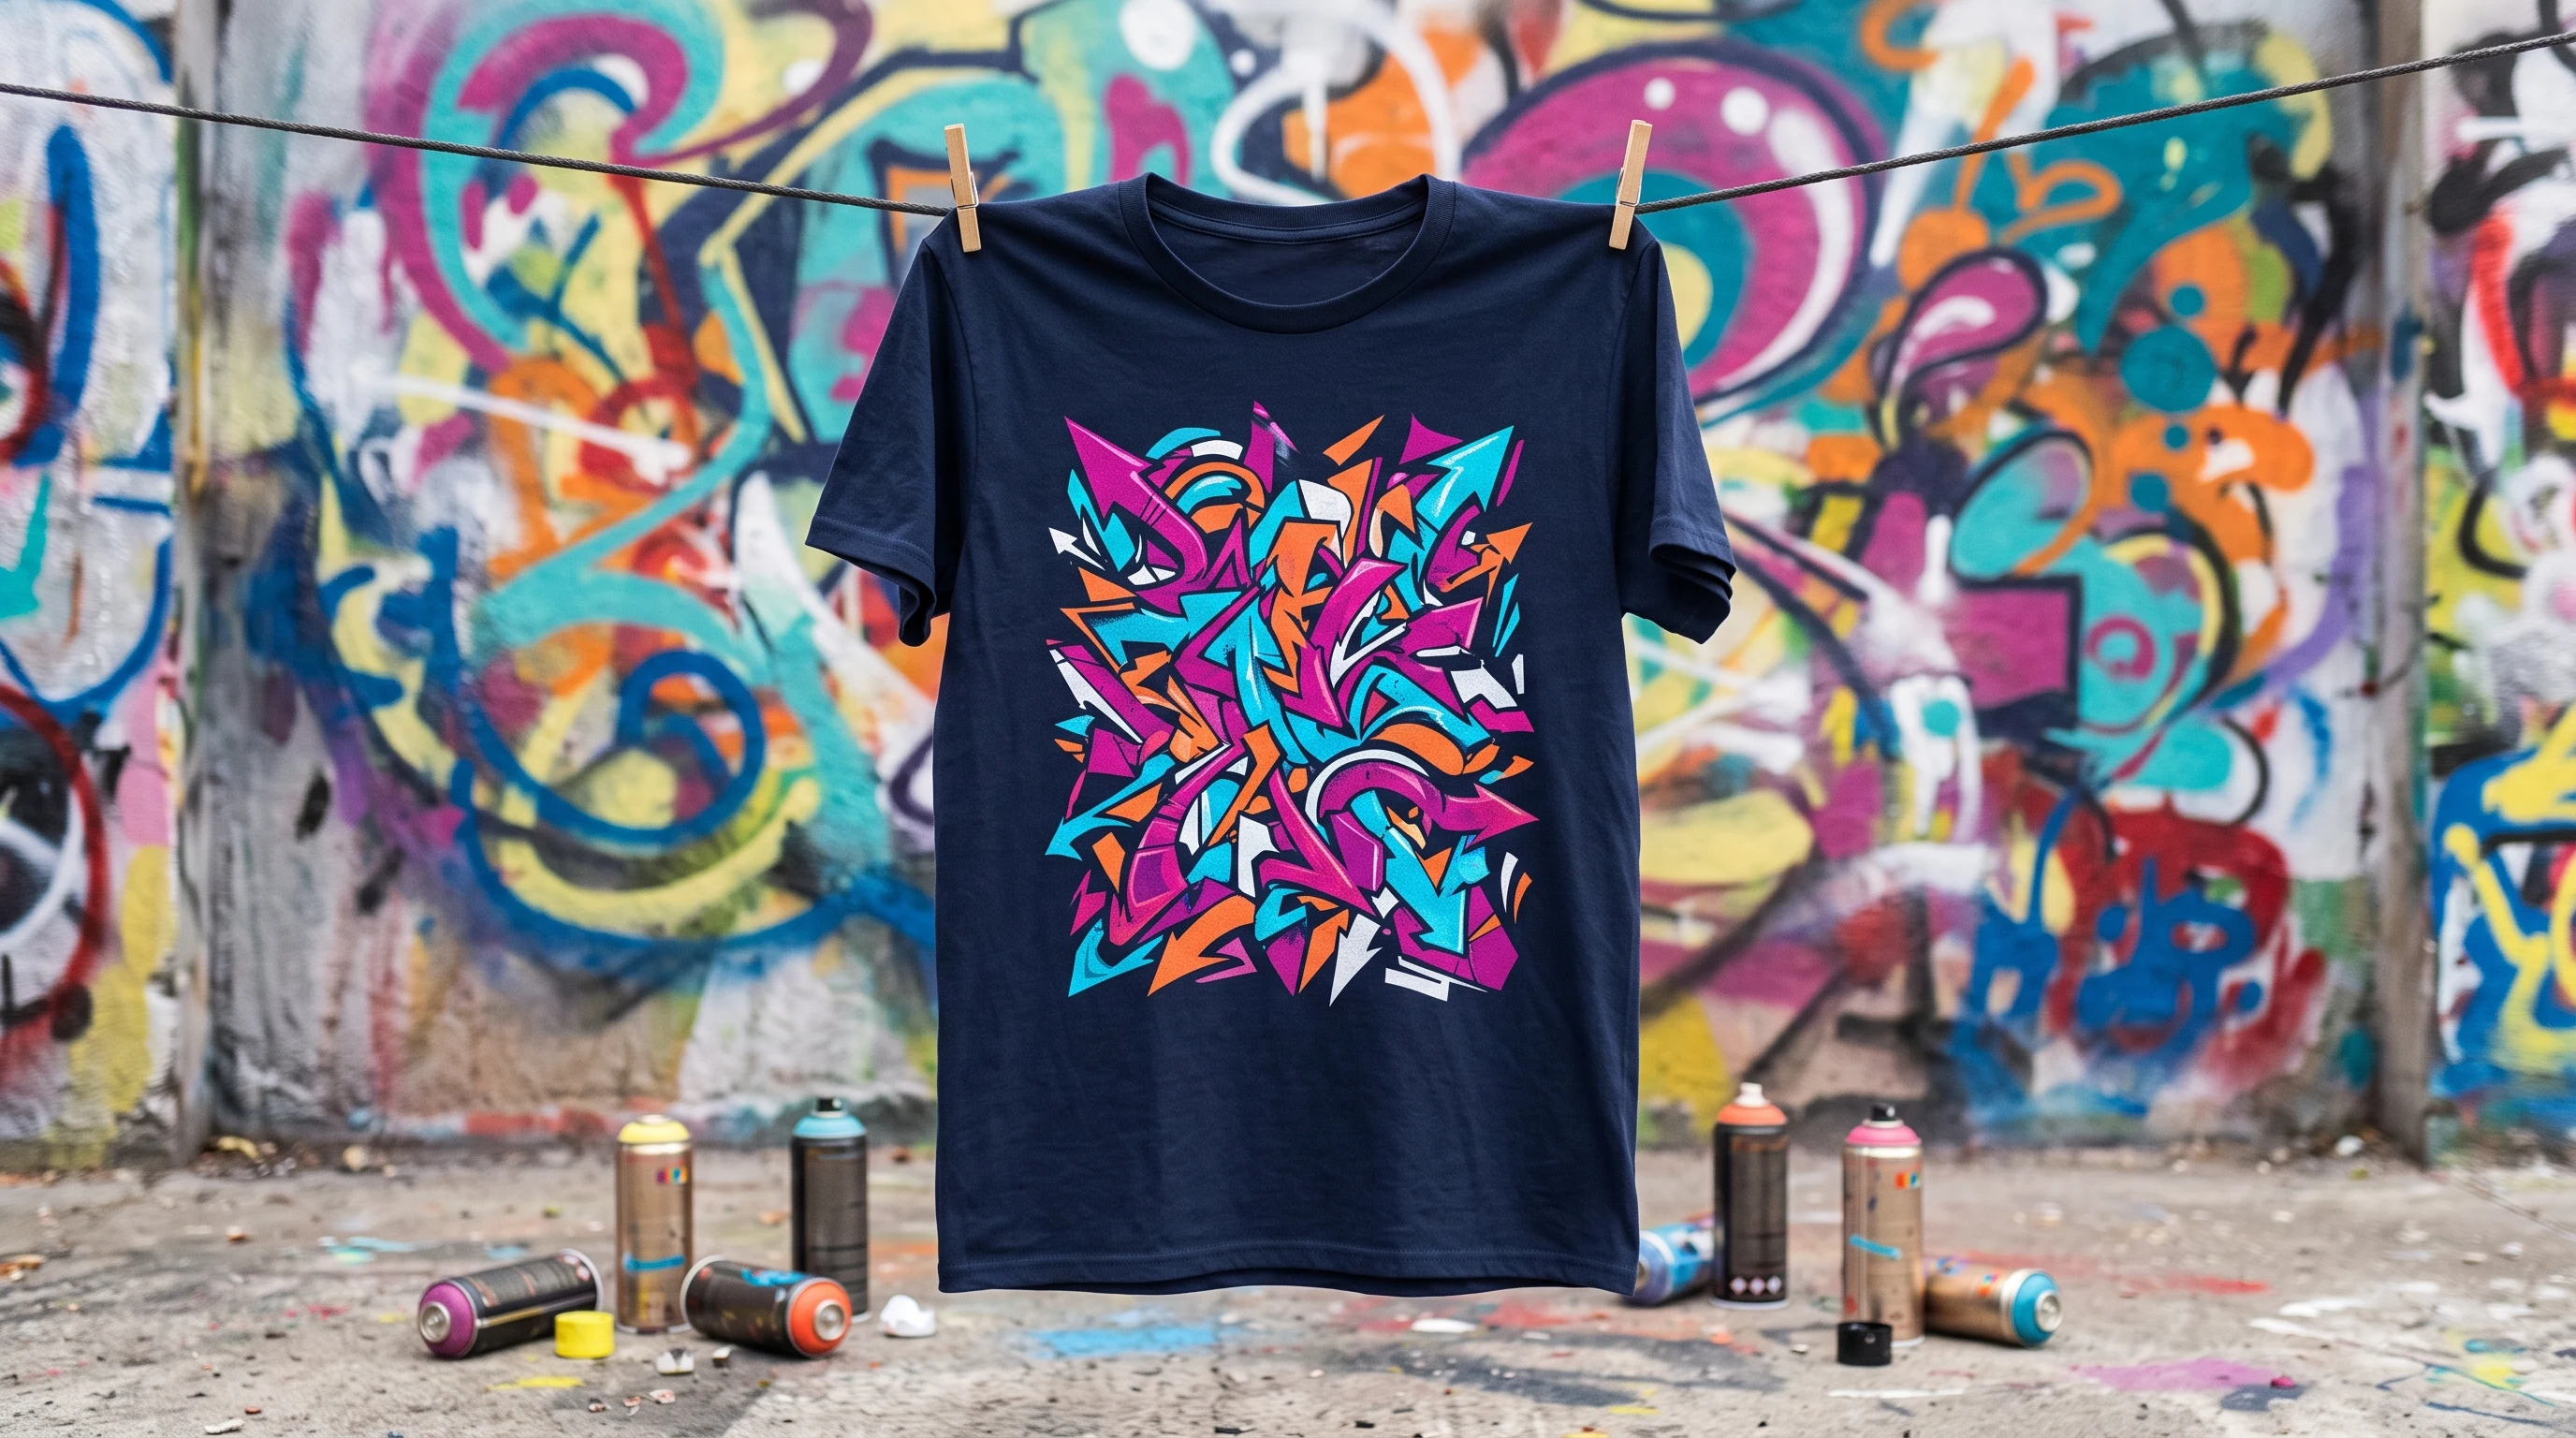
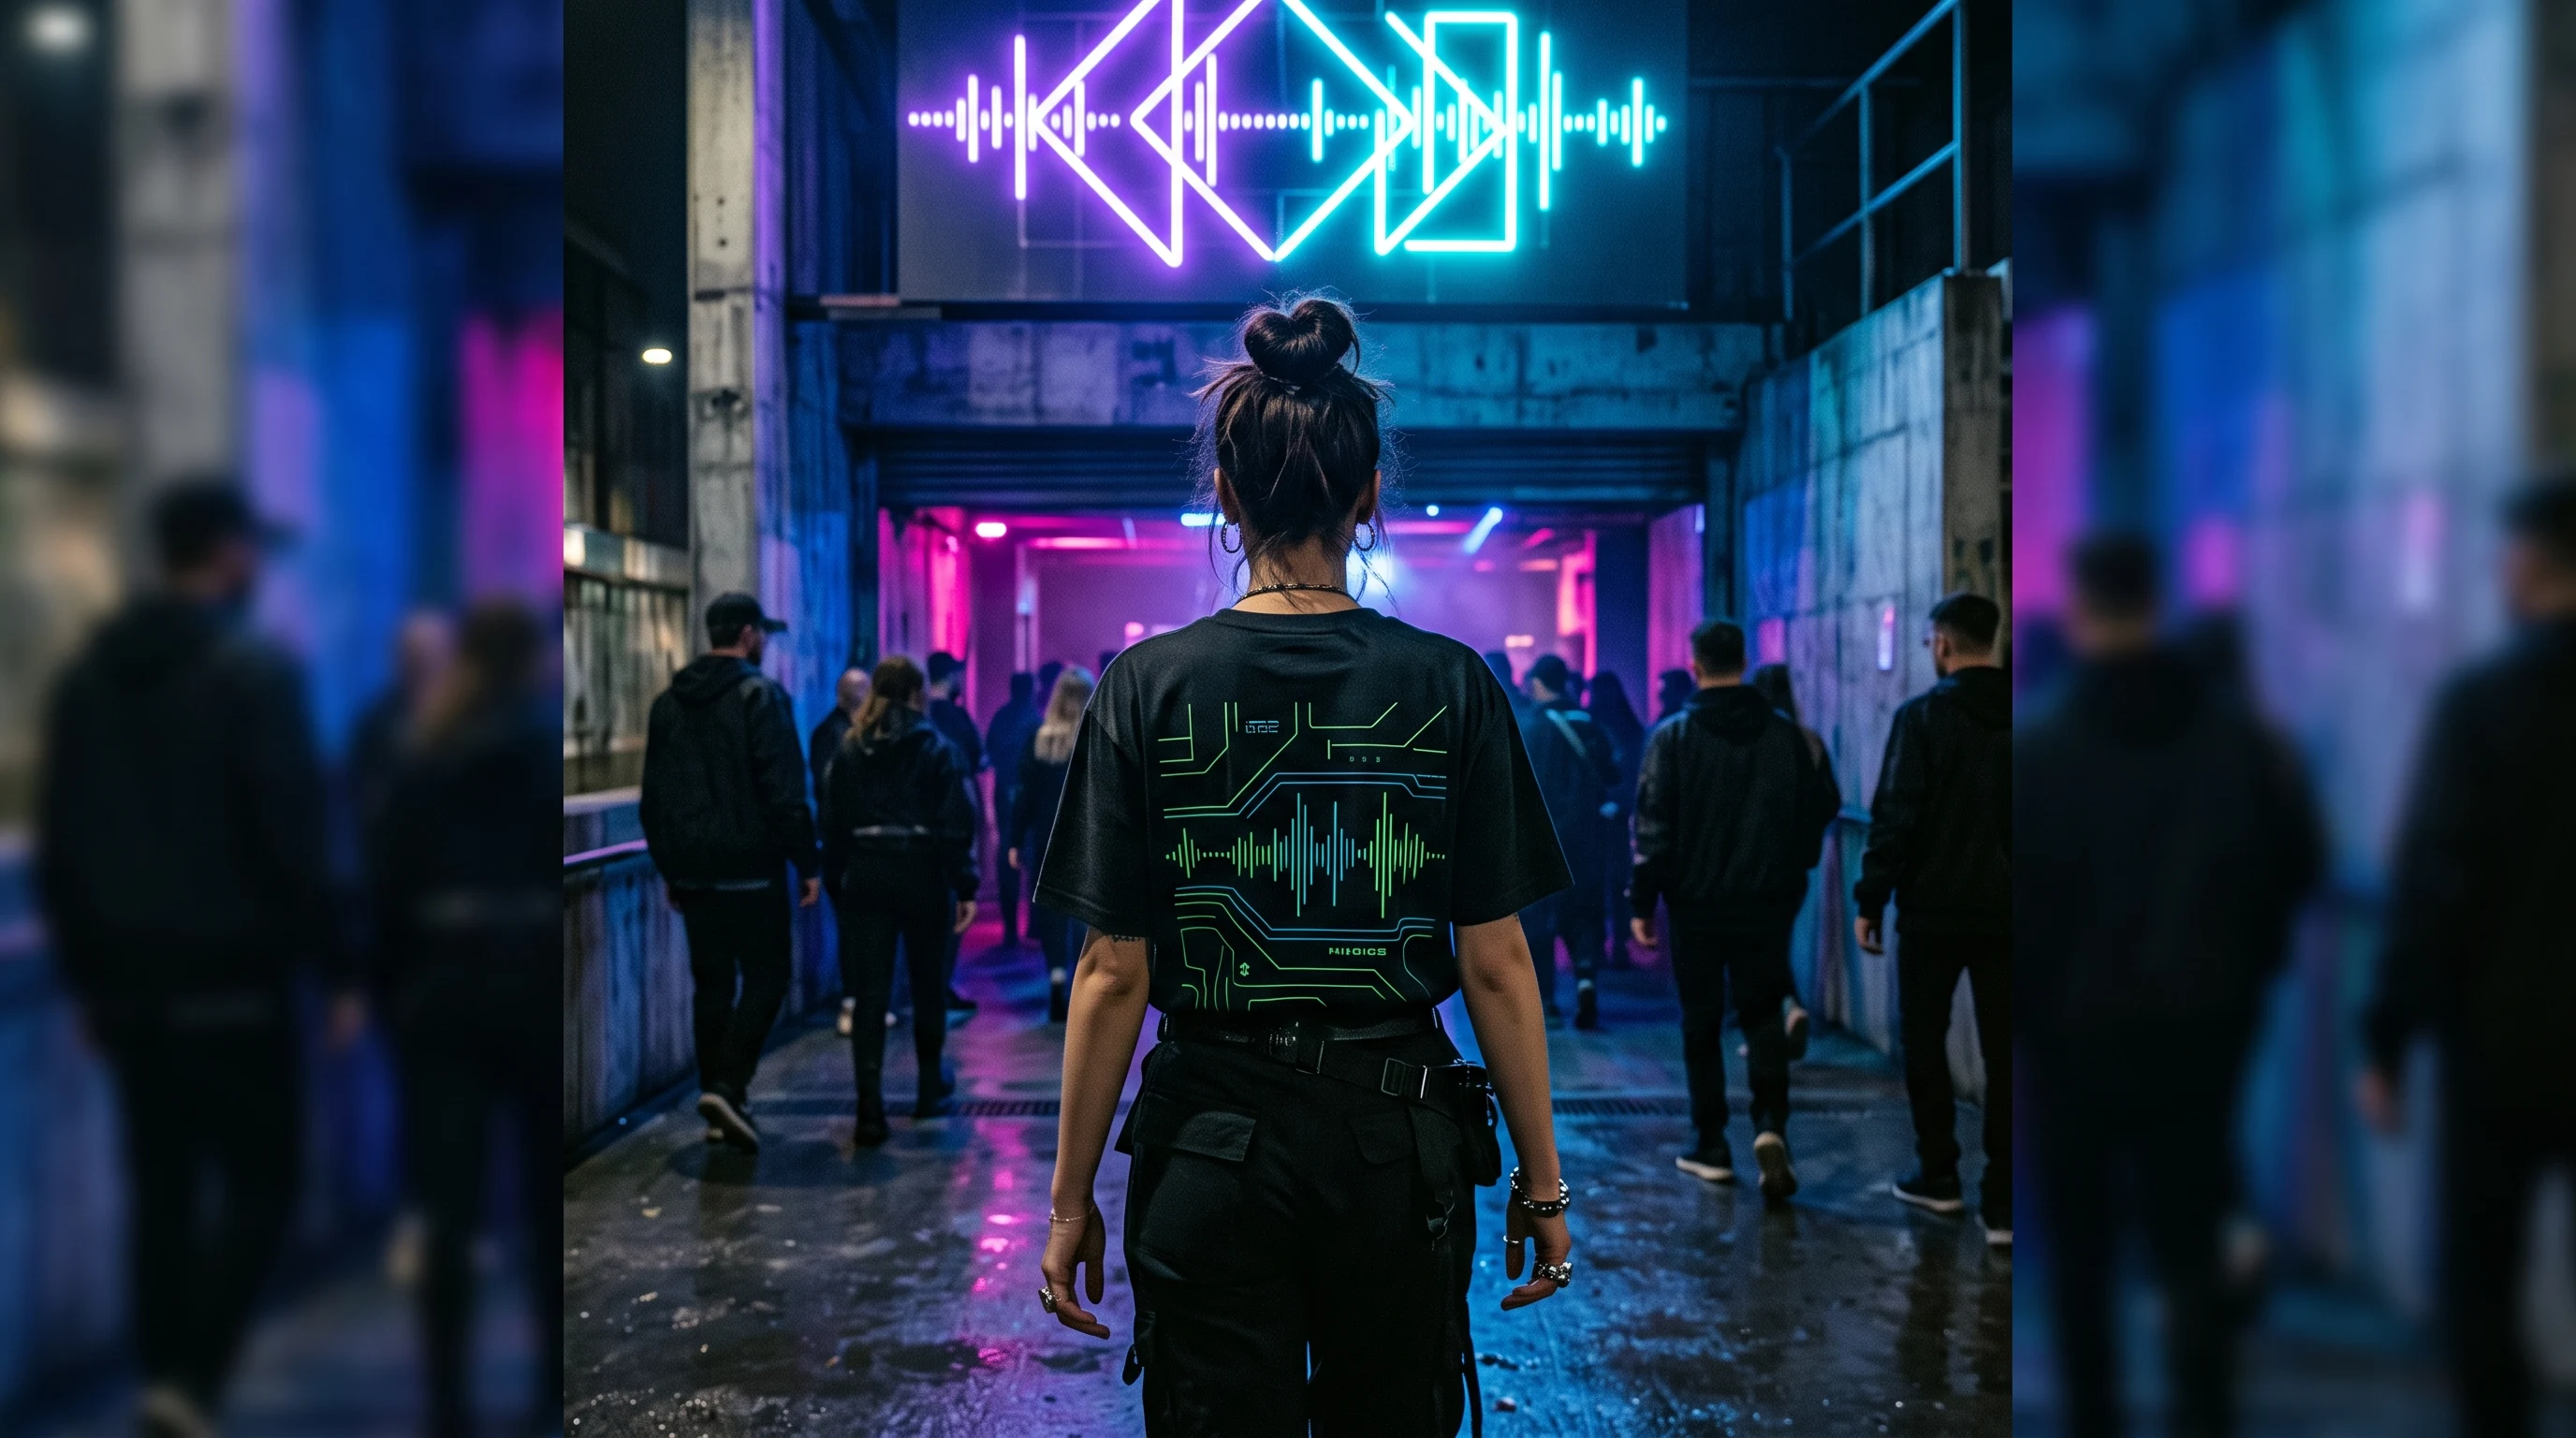
Design your own T-shirt: ideas for design, style and type
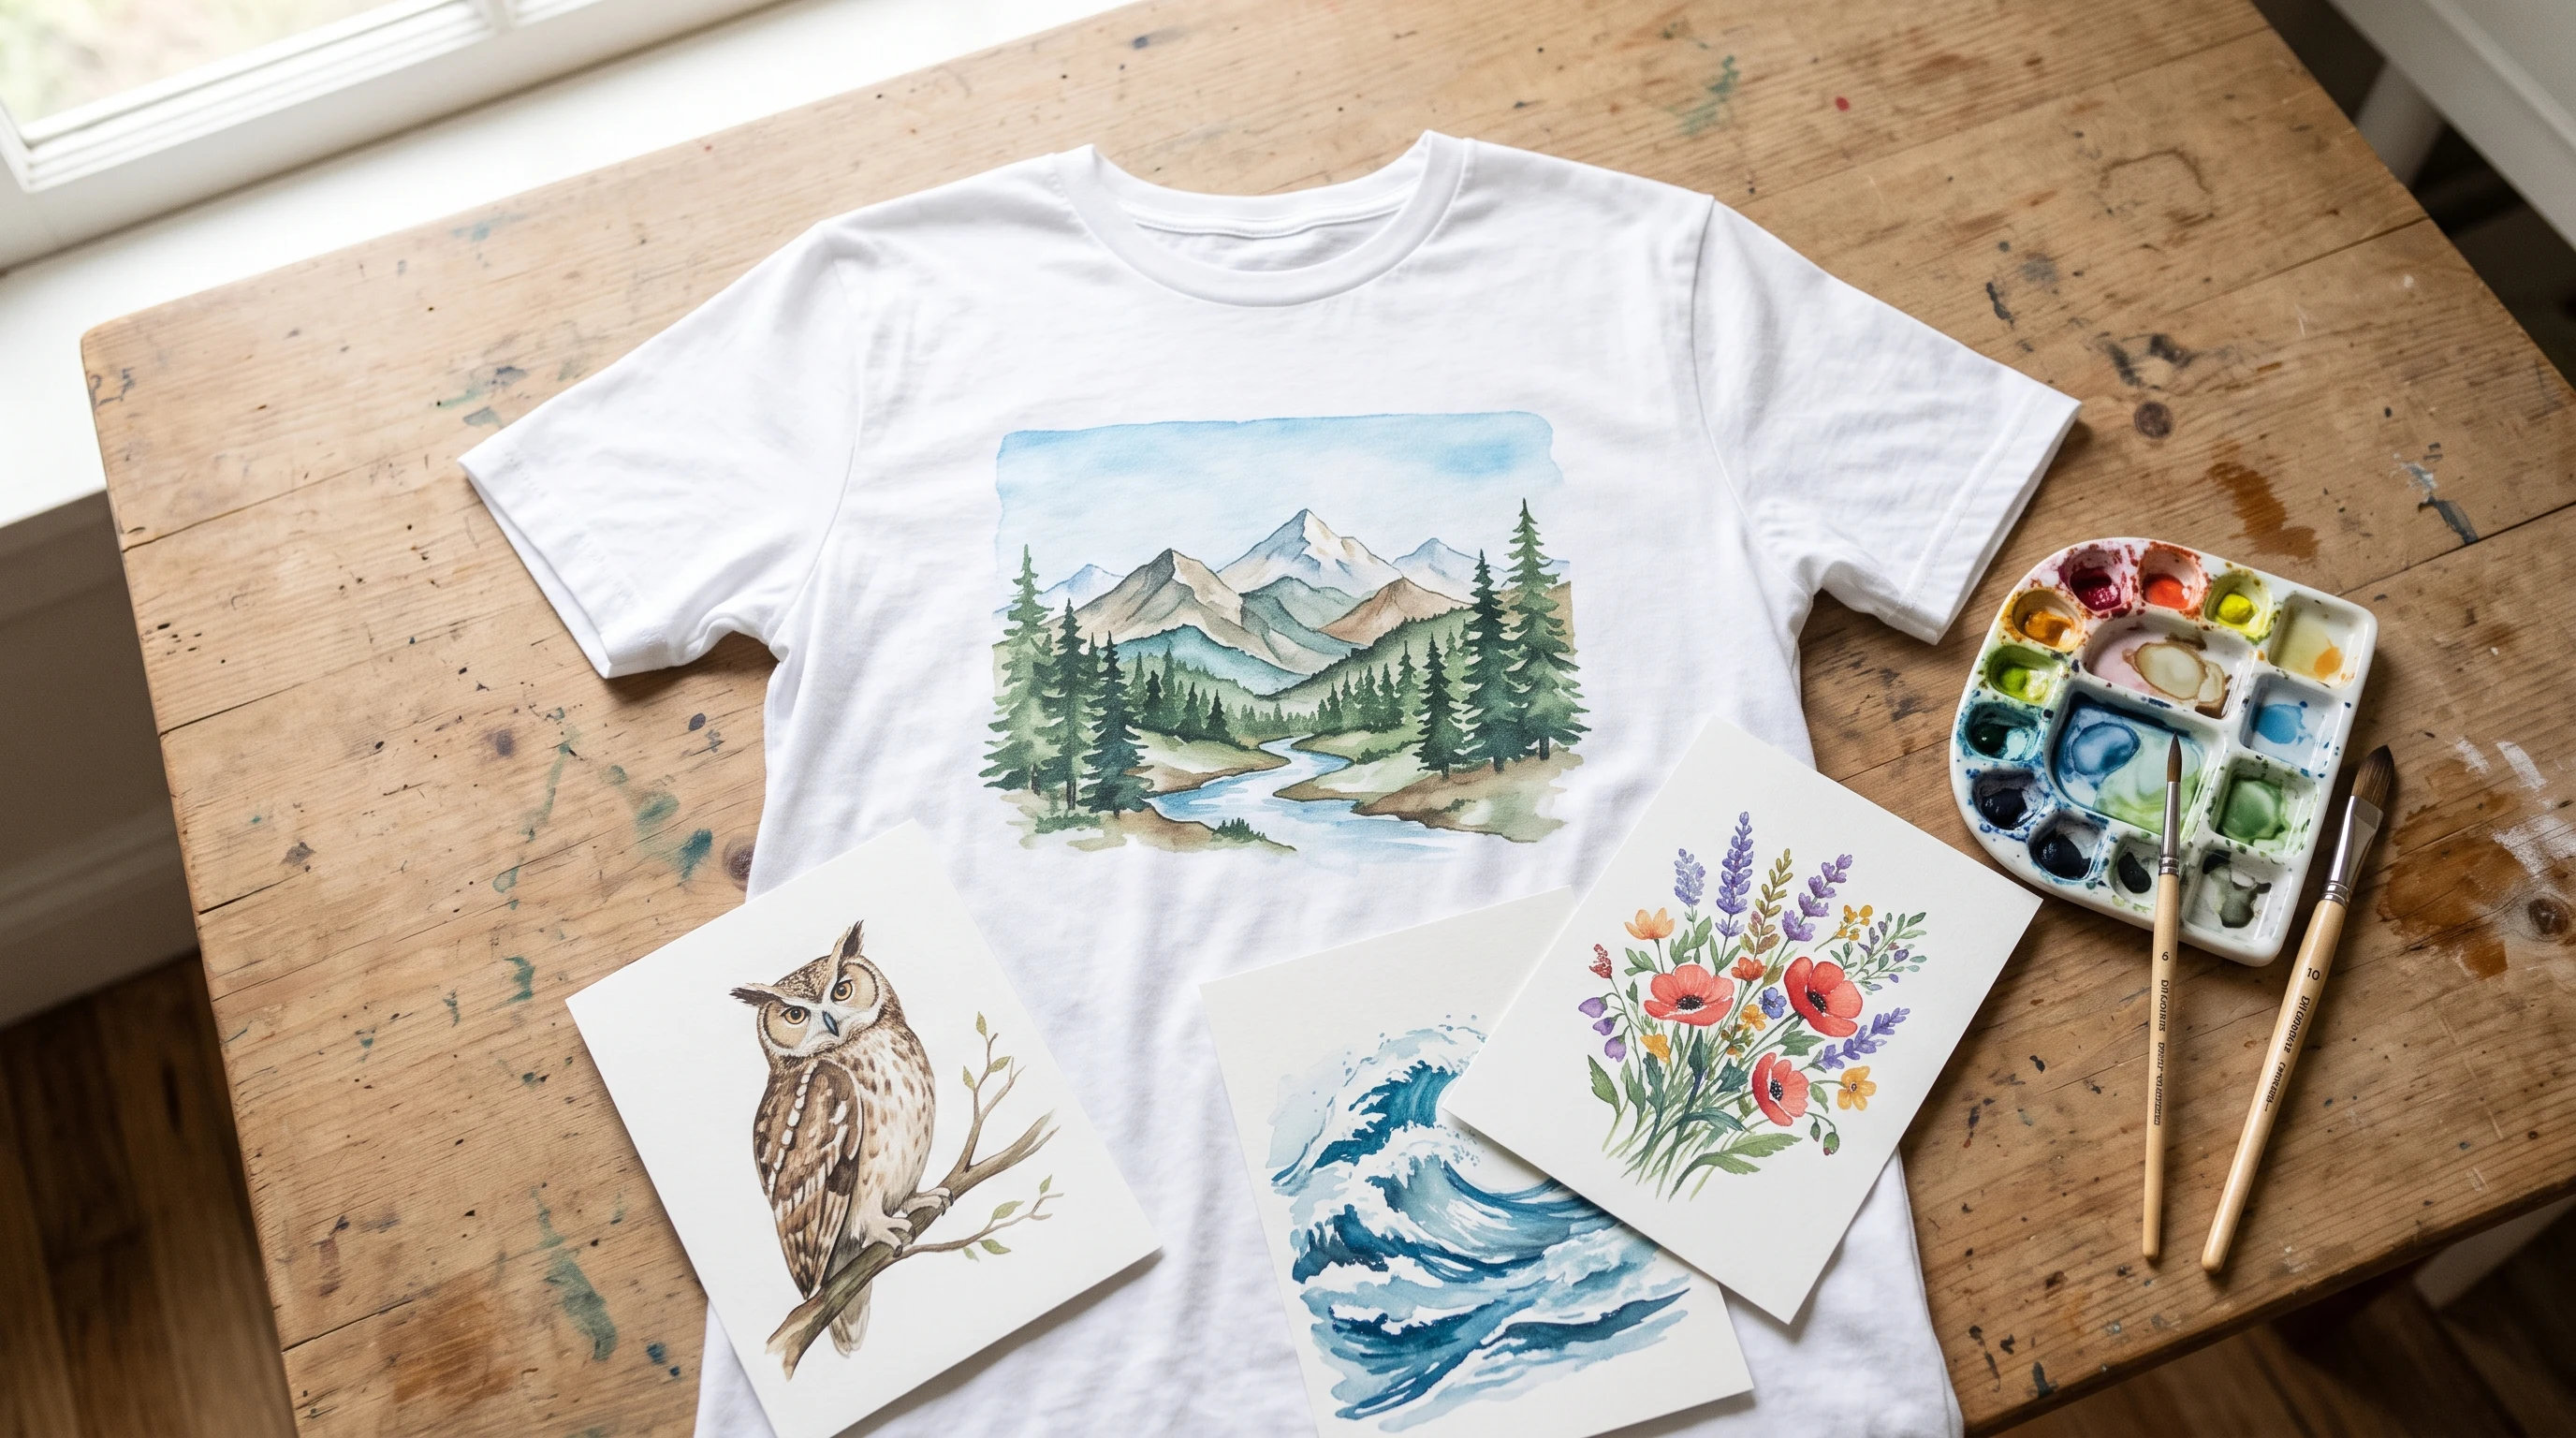
If you want to design your own T-shirt, you need a clear direction. These ideas help with the design, style, color palette and the choice of the right shirt type.
Designing your own T-shirt sounds like a quick thing, but in practice it often fails at the same point: the direction stays too vague. Many start with a vague wish and later wonder why the result looks interchangeable. It gets more coherent when you first decide how the shirt should feel and only then pick the details. A look at the basics of textile printing helps here, because the printing process has a say in which designs come across well at all.
That is exactly why it pays to think about design, style and shirt type together. A restrained animal design needs a different stage than a loud racing design or a detailed, anime-inspired one. Tune these three levels to each other early and you get to a result you can actually wear much faster. The design generator takes care of the execution as soon as the direction is set.
Set the effect first, then the design
Before the first picture appears, a simple question helps: should the shirt be more everyday, more upscale or deliberately eye-catching? This decision saves many unnecessary versions later. For everyday wear and easy gifts, a restrained design with a clear message is usually enough. If you want to make a strong statement, you can go for a full-surface design that leaves more room for atmosphere.
The effect sits not only in the design itself, but also in its size, position and relation to the shirt color. A small chest design tells something different than a full-surface scene. Both are right, as long as you decide deliberately and do not leave it to chance.
Start with a concrete category
The most convincing results rarely come from the wish for "something cool", but from a clearly outlined direction. Topic fields such as nature and animals, gaming and pop culture, technology and vehicles or history and mythology help to narrow the design down. The more precise the starting point, the more relevant the first drafts.
A short but specific description is a good entry. Instead of "cool design", something like this pays off: a wolf as a paper cut, dark blue on a cream background, plain and reduced. Three details, design, style, color direction, are often enough to get a usable first draft.
Do not leave the color palette to chance
Many weak designs fail not on the topic, but on the color choice. It helps to consider in advance whether the shirt should be light, dark, muted or high in contrast. With vehicle, animal or mythology topics in particular, the palette changes the whole message of the design.
As a rule of thumb, three to four equally strong tones work well. If you want to use more colors, the extra ones should be clearly subordinate, otherwise the design gets restless. The interplay of design and fabric color belongs here too: a light stroke on a dark background looks different than the same line on a light shirt.
Choosing the right shirt type
Not every design suits every fabric. A restrained symbol comes across well on a classic cotton shirt with a chest print. A painted scene with a lot of depth, on the other hand, needs surface, and only unfolds properly on an all-over print across front and back.
Roughly speaking, there are three routes:
- Cotton shirt, the uncomplicated basis for everyday designs and quick decisions.
- Premium shirt, the higher-quality feel for gifts and designs with greater ambition.
- Designer shirt with all-over print, the large surface for atmospheric, full-surface designs.
Which version belongs to which budget is laid out clearly on the pricing page. What matters most is that design and fabric choice fit together: a small symbol gets lost on a large surface, a full-surface scene looks cropped on a narrow chest print.
One clear main design instead of many ideas at once
A good shirt needs a focal point. A design with a recognizable figure, a clean silhouette or one unambiguous scene almost always convinces more than a draft that wants to show several topics at the same time. Less competition in the picture means more calm, and more recognition.
The same goes for the style. A single symbol with flat colors sits badly next to a detailed, painted aesthetic in the same draft. If you choose a reduced visual language, keep it consistent; if you are after a strong, graphic effect, you may push the contrast deliberately. What counts is the inner coherence, not the number of elements.
Common mistakes in your own draft
Three stumbling blocks show up especially often. The first is a description that is too vague: enter only "nice design" and you get something arbitrary back. Concrete details about design, style and color reliably lead to better drafts.
The second stumbling block is the wrong combination of design and fabric. A painted landscape design turns out disappointing on a small chest print because it lacks the surface; a minimalist sign looks lost on a large print area. The third: you settle for the first draft too quickly. It costs hardly any time to put two or three directions side by side, and often only the second version really convinces.
Target groups and their preferences
Who are you giving an individual shirt to? The range is wider than many assume. Designs from gaming, anime and art often speak to younger adults between 18 and 35. Animal, nature and landscape designs land well with older generations too. Topics like motorsport, classic cars or history count as typical gifts for men, but go down just as well with women who share those interests.
The perspective matters: designing for yourself, you can get more specific and bolder. With a gift, what counts is that the design suits the person receiving it, not your own taste. Hobbies, a favorite animal, a fandom or the job are good starting points. With gifts, a higher fabric quality often convinces more than any elaborate wrapping.
Occasions and their particulars
Birthdays are the most common occasion for a self-designed shirt, followed by Christmas, Father's Day, Mother's Day and anniversaries. An individual design also works for farewells, weddings or matching fan outfits. Three constellations are worth a closer look:
- Partner and family shirts: matching designs convince most when they connect subtly, for example two halves of one scene or two complementary symbols. Restraint carries further here than a loud statement.
- Team and company occasions: one plain main element, placed centrally, sits most safely on different body shapes. Too much text makes a shirt visually restless; a symbol with a short line of lettering is usually enough.
- Seasonal gifts: if you are planning for fixed dates such as Christmas, place the order early and allow 5-25 business days delivery time. That leaves enough room before the actual occasion.
With very personal in-jokes, be careful: what lands in the closest circle can look puzzling in a photo with a wider group. A clearly understandable design usually ages better.
Compare several directions before you commit
Perhaps the most effective step costs the least: comparing. If you are torn between two style directions, reduced against graphic and strong, chest print against all-over surface, look at both versions side by side. Only when design, style and shirt type really fit together does an idea become a draft you enjoy wearing.
That way "design your own T-shirt" loses its character as a guessing game and becomes a manageable sequence of decisions: first the effect, then design and color palette, then the right fabric. If you want to get started, the design generator guides you through each of these steps; in the gallery you can see how others have realized their designs, and on the pricing page you will find the shirt version that suits your budget.
FAQ
How concrete should I describe my design?
Three details are usually enough: the design itself, the style you want and a color direction. Instead of 'cool animal', 'calm fox in reduced line work, warm earth tones' leads to a much more precise draft. The clearer the starting point, the fewer attempts you need.
Which shirt type suits which design?
Small, reduced designs and symbols come across well on a classic cotton shirt with a chest print. Full-surface, atmospheric scenes need more room and only unfold on an all-over print. As a guide: the more depth and background a design has, the more print area it should get.
How many colors should a good shirt design have?
Three to four equally strong tones work well in most cases. More colors are possible, but should then be clearly subordinate so the design stays balanced. The interplay with the fabric color matters too, because the same palette looks different on a light and on a dark background.
Is it worth comparing several drafts?
Yes. The first draft is rarely the best one already. Putting two or three directions side by side costs hardly any time and often only then shows which combination of design, style and color palette really convinces. An order is only needed once you are happy with the result.